How to fix USB ports not working after Windows update
Have you encountered issues with your USB ports malfunctioning following a Windows update? This problem can be frustrating, especially when you need to use your peripherals. The issue might stem from various factors, including driver conflicts or system settings changes.

Resolving this issue is crucial for maintaining the functionality of your computer. In this article, we will explore the steps to troubleshoot and fix USB ports that are not working after a Windows update.
Key Takeaways
- Identify the cause of the USB port issue after a Windows update.
- Learn how to troubleshoot driver conflicts.
- Discover methods to reset USB settings.
- Understand the importance of updating drivers.
- Find out how to restore your system to a previous state if needed.
Understanding Why USB Ports Stop Working After Windows Updates
When Windows updates, it’s not uncommon for USB ports to stop functioning properly, leaving users puzzled. This issue can stem from various factors related to the update process. Understanding the root cause is crucial to resolving the problem effectively.
Common Windows Update Issues Affecting USB Functionality
Windows updates can sometimes introduce compatibility issues or bugs that affect USB functionality. These issues might arise due to outdated drivers, conflicts with existing hardware, or changes in how the operating system interacts with USB devices.
| Issue | Description | Potential Fix |
|---|---|---|
| Outdated Drivers | Drivers not updated to be compatible with the latest Windows version. | Update drivers to the latest version. |
| Hardware Conflicts | Conflicts between different hardware components or settings. | Check for conflicts in Device Manager. |
| OS Interaction Changes | Changes in how Windows interacts with USB devices. | Adjust USB settings or update Windows. |
How to Identify If Your Problem Is Update-Related
To determine if a Windows update is the cause of your USB issues, review the update history and check for any recent updates around the time the problem started. You can do this by going to the Windows Update section in your Settings app.
Additionally, checking the Device Manager for error messages related to USB devices can provide clues. If you see an error code or a warning sign next to a USB device, it could indicate a problem caused by a recent update.
Quick Fixes to Try First
If your USB ports have stopped functioning after a Windows update, start with these simple troubleshooting steps. Sometimes, the issue can be resolved with basic troubleshooting, saving you time and effort.
Restart Your Computer
One of the simplest and most effective troubleshooting steps is to restart your computer. This action can resolve issues caused by temporary glitches or software conflicts. Restarting your computer can refresh the system and potentially fix the USB port issue.
Try Different USB Ports
If a device isn’t working in one USB port, try plugging it into another. This step helps determine if the issue is specific to one port or if it’s a more widespread problem. Some USB ports may be malfunctioning or have different configurations that affect device functionality.
Check Physical Connections and Cables
Ensure that all USB cables are securely connected to both the device and the computer. Damaged or loose cables can cause connectivity issues. Inspect your cables for any signs of damage and replace them if necessary.
| Troubleshooting Step | Purpose |
|---|---|
| Restart Computer | Resolves temporary glitches |
| Try Different USB Ports | Identifies if the issue is port-specific |
| Check Physical Connections | Ensures cables are secure and undamaged |
By trying these quick fixes, you may be able to resolve the USB port issue without needing further troubleshooting. If the problem persists, you can proceed to more advanced solutions.
USB Ports Not Working After Windows Update: Comprehensive Solutions
The frustration of non-functional USB ports following a Windows update can be alleviated by understanding the root causes and applying comprehensive solutions. When faced with this issue, it’s essential to methodically troubleshoot to identify and fix the problem.
Checking Device Manager for Issues
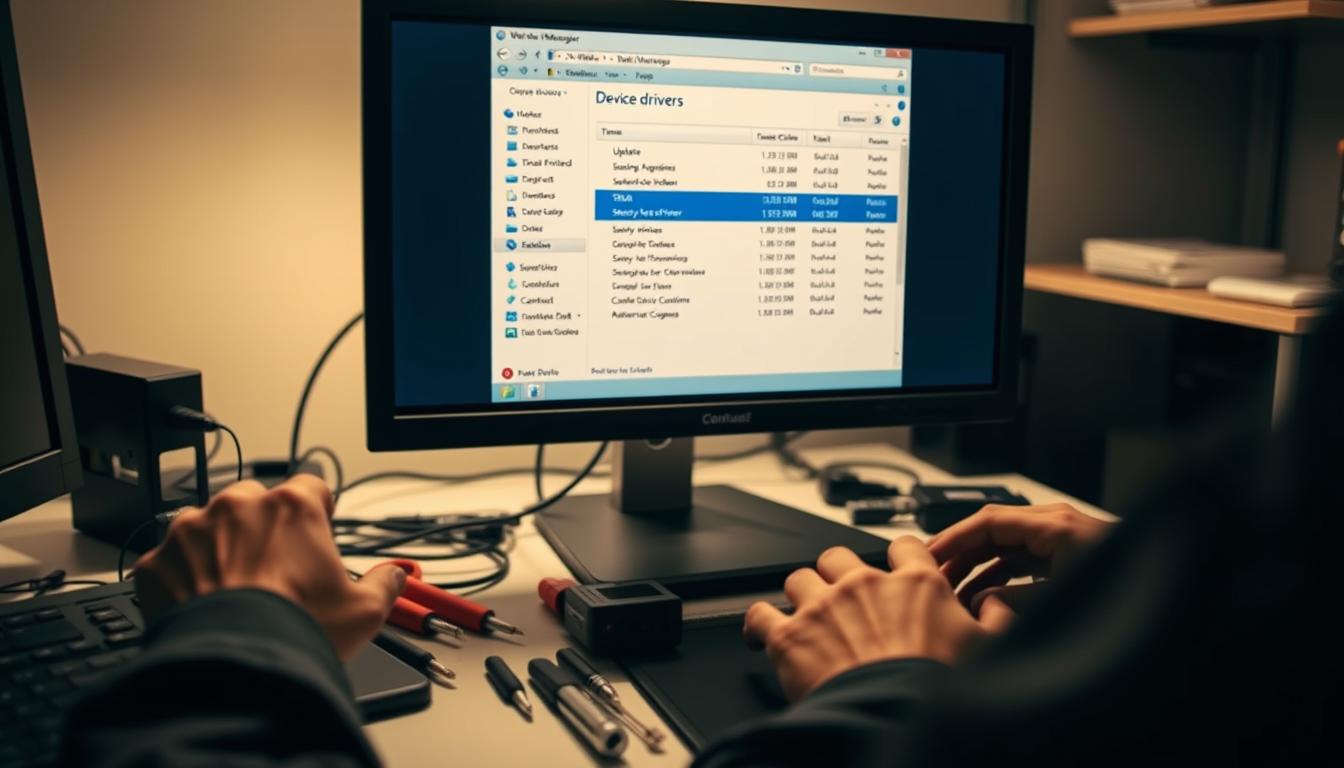
To begin troubleshooting, checking the Device Manager is a crucial step. This involves opening Device Manager by searching for it in the Start menu, then looking for any devices with a yellow exclamation mark or a red X, indicating a problem. Specifically, one should check the USB controllers and hubs for any issues.
Here are the steps to follow in Device Manager:
- Open Device Manager.
- Look for devices with errors under the “Universal Serial Bus controllers” section.
- Check for any unknown devices that might be related to USB issues.
Looking for Error Codes and Their Meanings
If issues are found in Device Manager, the next step is to look for error codes and understand their meanings. This can provide specific insights into the problem. Common error codes include Code 10, Code 28, and Code 43, each indicating different issues such as driver problems or hardware failures.
Understanding these codes is crucial for applying the correct fix. For instance:
- Code 10 usually indicates a driver issue that can be resolved by updating the driver.
- Code 28 suggests that the driver is not installed, and one needs to install or reinstall it.
- Code 43 is a more serious error indicating a hardware failure or a problem that requires more advanced troubleshooting.
By following these steps and understanding the error codes, users can take the first steps towards resolving USB port issues after a Windows update.
Updating or Reinstalling USB Drivers
If your USB ports are not functioning properly after a Windows update, consider updating or reinstalling the USB drivers as a potential fix. Outdated or corrupted drivers can cause USB ports to malfunction, and addressing these drivers can often resolve the issue.
Accessing Device Manager for Driver Management
To update or reinstall USB drivers, you first need to access the Device Manager. You can do this by pressing the Windows key + X and selecting Device Manager from the menu. Once in the Device Manager, you can manage all your device drivers, including those for USB ports.
Updating USB Drivers Automatically
Windows provides an option to automatically update drivers. To do this, locate the Universal Serial Bus controllers in the Device Manager, right-click on each USB driver, and select “Update driver.” Windows will then search for and install any available updates.
Manually Reinstalling USB Controllers
If automatic updates don’t work, you may need to manually reinstall the USB controllers. This involves uninstalling the current drivers and allowing Windows to reinstall them upon restart.
Uninstalling and Reinstalling USB Root Hubs
Under the Universal Serial Bus controllers section, find the USB Root Hubs, right-click on them, and select “Uninstall device.” After uninstalling, restart your computer to allow Windows to reinstall the drivers.
Reinstalling Specific Device Drivers
For specific USB devices that are not working, you can also try uninstalling and reinstalling their drivers. Locate the device in the Device Manager, right-click on it, and choose “Uninstall device.” Then, restart your computer or use the “Scan for hardware changes” option to reinstall the driver.
| Step | Action | Expected Outcome |
|---|---|---|
| 1 | Access Device Manager | View all device drivers |
| 2 | Update USB Drivers | Resolve issues with outdated drivers |
| 3 | Uninstall and Reinstall USB Controllers | Fix corrupted or malfunctioning drivers |

By following these steps, you can effectively update or reinstall USB drivers to fix issues with your USB ports. Regularly checking for driver updates can also help prevent future malfunctions.
Running Windows Troubleshooters
Windows troubleshooters are built-in tools that can help resolve issues with USB ports not working after an update. These tools are designed to identify and fix problems automatically, saving time and effort.
To begin troubleshooting, it’s essential to understand the available tools and how to use them effectively. The Hardware and Devices Troubleshooter and the USB Troubleshooter are two primary tools that can help resolve USB-related issues.
Using the Hardware and Devices Troubleshooter
The Hardware and Devices Troubleshooter is a comprehensive tool that can detect and fix issues with hardware devices, including USB ports. To access this tool, users can follow these steps:
- Press the Windows key + S to open the search bar.
- Type “Control Panel” and open it.
- Navigate to “Troubleshooting” and then click on “View all” on the left side.
- Select “Hardware and Devices” and follow the prompts.
This troubleshooter will guide the user through a series of steps to identify and potentially fix the issue with the USB ports.
Running the USB Troubleshooter
For more specific USB issues, Windows provides a dedicated USB Troubleshooter. This tool can help resolve problems related to USB devices and ports. To run the USB Troubleshooter:
- Go to Settings by pressing Windows key + I.
- Navigate to “Update & Security” and then to “Troubleshoot.”
- Look for “USB” or related options and follow the on-screen instructions.
By utilizing these troubleshooters, users can potentially resolve the issue with their USB ports not working after a Windows update, restoring functionality to their devices.
Power Management Settings That Affect USB Functionality
Power management settings can significantly impact USB functionality, especially after a Windows update. These settings are designed to conserve energy, but sometimes they can cause issues with USB devices. Understanding and adjusting these settings can help resolve connectivity problems.
Disabling USB Selective Suspend
USB Selective Suspend is a power-saving feature that can sometimes cause problems with USB devices. Disabling this feature can help resolve issues with USB ports not working after a Windows update.
To disable USB Selective Suspend, you need to access the Power Options in your Windows settings. Here’s how you can do it:
- Open the Control Panel and navigate to Power Options.
- Click on “Change plan settings” next to your current power plan.
- Click on “Change advanced power settings.”
- In the Power Options window, expand “USB settings” and then “USB selective suspend setting.”
- Set the “On battery” and “Plugged in” options to “Disabled.”
Adjusting Power Plans for USB Devices
Adjusting power plans can also help in resolving USB connectivity issues. Windows offers various power plans that can be customized to suit your needs.
Changing Advanced Power Settings
To change advanced power settings, follow these steps:
- Go to Power Options in the Control Panel.
- Click on “Change plan settings” next to your current power plan.
- Click on “Change advanced power settings.”
- Here, you can adjust various settings, including those related to USB devices.
Creating a Custom Power Plan for USB Devices
Creating a custom power plan allows you to have more control over how your USB devices are managed. Here’s how you can create one:
- Open Power Options in the Control Panel.
- Click on “Create a power plan” on the left side.
- Choose a plan to base your custom plan on and give it a name.
- Click “Next” and adjust the settings as per your requirements.
For users experiencing USB issues on their totalgyaan website, adjusting these power settings can be particularly helpful.
| Power Setting | Description | Effect on USB Devices |
|---|---|---|
| USB Selective Suspend | A power-saving feature that suspends USB devices when not in use. | Can cause connectivity issues if disabled. |
| Power Plans | Predefined plans that manage power consumption. | Custom plans can be created to prioritize USB functionality. |
| Advanced Power Settings | Detailed settings that can be adjusted for specific power plans. | Allows for fine-tuning of USB device management. |
System Restore and Update Rollback Methods
When a Windows update causes USB ports to malfunction, using system restore or update rollback can be an effective solution. These methods allow you to revert your system to a previous state when the USB ports were functioning correctly.
Identifying Problematic Windows Updates
The first step in resolving USB issues caused by Windows updates is to identify the problematic update. To do this, you can check the update history in the Windows Settings app. Navigate to Settings > Update & Security > Windows Update > View update history. This will show you a list of recent updates, which can help you pinpoint the update that might have caused the issue.
Rolling Back to a Previous Windows Version
If you’ve recently updated your Windows version, you might be able to roll back to the previous version. To do this, go to Settings > Update & Security > Recovery. Under Go back to the previous version of Windows 10, click Get started. Follow the prompts to complete the rollback process. Keep in mind that this option is only available for a limited time after the update.
Using System Restore to Fix USB Issues
System Restore is a feature that allows you to revert your system to a previous restore point. To use System Restore, type Create a restore point in the Windows search bar and open the corresponding Control Panel page. Click System Restore and follow the wizard to choose a restore point from before the USB issue started. System Restore can fix problems caused by system changes, including those related to USB functionality.
By using these methods, you can potentially resolve USB issues caused by Windows updates. Whether you identify and roll back a problematic update or use System Restore, these approaches can help restore functionality to your USB ports.
Advanced Troubleshooting Techniques
Advanced troubleshooting techniques are necessary when standard fixes don’t resolve USB connectivity issues post-Windows update. At this stage, users need to delve deeper into their system’s configuration to identify and rectify the problem.
Using Command Prompt to Reset USB Controllers
One effective method is using the Command Prompt to reset USB controllers. This involves executing specific commands to disable and re-enable USB devices, potentially resolving issues caused by corrupted drivers or misconfigured settings. To do this, open Command Prompt as an administrator and run the following commands:
devcon disable "USB\VID_XXXX&PID_XXXX"devcon enable "USB\VID_XXXX&PID_XXXX"
Replace “VID_XXXX&PID_XXXX” with the actual device ID found in Device Manager.
Checking for BIOS/UEFI Updates
Another crucial step is checking for BIOS/UEFI updates. An outdated BIOS/UEFI can cause compatibility issues with USB devices. Visit the manufacturer’s website to check for updates and follow their instructions for updating. This process varies between manufacturers, so it’s essential to follow the specific guidance provided.
Troubleshooting USB Hubs and External Devices
When troubleshooting USB issues, it’s also important to examine USB hubs and external devices.
Powered vs. Unpowered USB Hubs
Using a powered USB hub can make a significant difference, as it provides additional power to connected devices, potentially resolving issues related to power supply. In contrast, unpowered hubs rely on the host computer for power, which can lead to insufficient power for devices.
Diagnosing Device-Specific Issues
To diagnose device-specific issues, try connecting devices to different ports or another computer. This helps determine if the issue lies with the device or the computer’s USB ports.
A comparison of common USB issues and their potential causes is shown below:
| Issue | Potential Cause |
|---|---|
| Device not recognized | Outdated drivers, hardware failure |
| Intermittent connectivity | Loose connections, power supply issues |
| Device malfunctioning | Device-specific issues, corrupted drivers |

By applying these advanced troubleshooting techniques, users can effectively diagnose and resolve complex USB issues that arise after a Windows update.
Conclusion
Fixing usb ports not working after windows update can be achieved through various methods. By understanding the causes and applying the right solutions, users can restore functionality to their USB ports.
The steps outlined in this article, from checking Device Manager for issues to running Windows troubleshooters and adjusting power management settings, provide a comprehensive approach to resolving usb ports not working after windows update.
For more helpful guides and troubleshooting tips, visit totalgyaan. Their resources can help you tackle common Windows issues and keep your system running smoothly.
By following these steps and staying informed, you can ensure your USB ports remain functional and your system continues to operate efficiently.
FAQ
Why are my USB ports not working after a Windows update?
USB ports may stop working after a Windows update due to issues with the update itself, problems with USB drivers, or changes in power management settings.
How can I fix USB ports not working after a Windows update?
Try restarting your computer, checking physical connections, updating or reinstalling USB drivers, running Windows troubleshooters, or adjusting power management settings.
What should I do if my USB device is not recognized after a Windows update?
Check the Device Manager for issues, look for error codes, and try updating or reinstalling the USB driver. You can also try using a different USB port or checking the physical connection.
Can a Windows update cause USB ports to malfunction?
Yes, a Windows update can sometimes cause issues with USB ports, such as stopping them from working or causing devices to not be recognized.
How do I update my USB drivers after a Windows update?
You can update your USB drivers by accessing the Device Manager, finding the USB device, and selecting the option to update the driver. You can also use the Windows Update feature to search for and install updates.
What is USB Selective Suspend, and how does it affect USB functionality?
USB Selective Suspend is a power-saving feature that can sometimes cause issues with USB devices. Disabling it may help resolve problems with USB ports not working.
Can I use System Restore to fix USB issues caused by a Windows update?
Yes, using System Restore to revert to a previous system state can sometimes resolve USB issues caused by a Windows update.
How do I run the Windows USB Troubleshooter?
You can run the Windows USB Troubleshooter by going to the Windows Settings, selecting “Update & Security,” and then clicking on “Troubleshoot” to find and run the USB troubleshooter.
